quick-start.md 14 KB
To help you quickly get started with the Apollo Configuration Center, we have prepared a Quick Start here, which can deploy and start Apollo Configuration Center in your local environment in a few minutes.
If you are familiar with Docker, you can refer to Apollo Quick Start Docker Deployment to deploy Apollo via Docker. Apollo Quick Start Docker.
However, it should be noted that Quick Start is only for local testing, if you want to deploy to production environment, please refer to distributed-deployment-guide separately.
Note: Quick Start requires a bash environment, Windows users please install Git Bash, we recommend using the latest version, older versions may encounter unknown problems. You can also start directly through the IDE environment, see Apollo Development Guide for details.
I. Preparation
1.1 Java
- Apollo server: 1.8+
- Apollo client: 1.8+
- For running in Java 1.7 runtime environment, please use apollo client of 1.x version, such as 1.9.1
Once configured, this can be checked with the following command.
java -version
Sample output.
java version "1.8.0_74"
Java(TM) SE Runtime Environment (build 1.8.0_74-b02)
Java HotSpot(TM) 64-Bit Server VM (build 25.74-b02, mixed mode)
Windows users please make sure that JAVA_HOME environment variable is set.
1.2 MySQL
- If you plan to use H2 in-memory database/H2 file database, there is no need for MySQL, and you can skip this step.
- Version requirement: 5.6.5+
Apollo's table structure uses multiple default declarations for timestamp, so version 5.6.5+ is required.
After connecting to MySQL, you can check with the following command.
SHOW VARIABLES WHERE Variable_name = 'version';
| Variable_name | Value |
|---|---|
| version | 5.7.11 |
1.3 Downloading the Quick Start installation package
We have prepared a Quick Start installation package, you just need to download it locally and you can use it directly, eliminating the need to compile and package the process.
The installation package is 50M, if you can't access github, you can download it from Baidu.com.
- Download from GitHub
- Checkout or download the apollo-quick-start project
- Since the Quick Start project is relatively large, it is placed in a different repository, so please note the project address
- Download from Baidu.com
- Downloaded via weblink, extraction code: 9wwe
- After downloading to local, unzip apollo-quick-start.zip locally
- why is the installation package so large as 58M?
- Because it is a self-starting jar package, which contains all the dependent jar packages and a built-in tomcat container
1.3.1 Manually packaged Quick Start installation package
Quick Start is only for local testing, so generally users do not need to download the source code to package it themselves, but just download the already typed package. However, there are some users who want to repackage the package after modifying the code, then you can refer to the following steps.
- Modify the apollo-configservice, apollo-adminservice and apollo-portal pom.xml, comment out spring-boot-maven-plugin and maven-assembly-plugin
- Execute
mvn clean package -pl apollo-assembly -am -DskipTests=truein the root directory. - Copy the jar package under apollo-assembly/target and rename it to apollo-all-in-one.jar
II. Initialization and Startup
Precautions
- The Apollo server process needs to use ports 8070, 8080, 8090 respectively, please ensure these three ports are not currently in use.
The
githubin the SPRING_PROFILES_ACTIVE environment variable in the script is a required profile,database-discoveryspecifies the use of database service discovery,authis a profile that provides simple authentication for the portal, it can be removed if authentication is not required or other authentication methods are used.2.1 Use H2 in-memory database, automatic initialization
No configuration is required, just use the following command to start
Note: When using the in-memory database, any operation will be lost after the Apollo process restarts
export SPRING_PROFILES_ACTIVE="github,database-discovery,auth"
unset SPRING_SQL_CONFIG_INIT_MODE
unset SPRING_SQL_PORTAL_INIT_MODE
java -jar apollo-all-in-one.jar
2.2 Use H2 file database, automatic initialization
Precautions
- The path
~/apollo/apollo-config-dband~/apollo/apollo-portal-dbin the environment variable in the script can be replaced with other custom paths, you need to ensure that this path has read and write permissions
2.2.1 First startup
Use the SPRING_SQL_CONFIG_INIT_MODE="always" and SPRING_SQL_PORTAL_INIT_MODE="always" environment variable for initialization at the first startup
export SPRING_PROFILES_ACTIVE="github,database-discovery,auth"
# config db
export SPRING_SQL_CONFIG_INIT_MODE="always"
export SPRING_CONFIG_DATASOURCE_URL="jdbc:h2:file:~/apollo/apollo-config-db;mode=mysql;DB_CLOSE_ON_EXIT=FALSE;DB_CLOSE_DELAY=-1;BUILTIN_ALIAS_OVERRIDE=TRUE;DATABASE_TO_UPPER=FALSE"
# portal db
export SPRING_SQL_PORTAL_INIT_MODE="always"
export SPRING_PORTAL_DATASOURCE_URL="jdbc:h2:file:~/apollo/apollo-portal-db;mode=mysql;DB_CLOSE_ON_EXIT=FALSE;DB_CLOSE_DELAY=-1;BUILTIN_ALIAS_OVERRIDE=TRUE;DATABASE_TO_UPPER=FALSE"
java -jar apollo-all-in-one.jar
2.2.2 Subsequent startup
Remove the SPRING_SQL_CONFIG_INIT_MODE and SPRING_SQL_PORTAL_INIT_MODE environment variable to avoid repeated initialization at subsequent startup
export SPRING_PROFILES_ACTIVE="github,database-discovery,auth"
# config db
unset SPRING_SQL_CONFIG_INIT_MODE
export SPRING_CONFIG_DATASOURCE_URL="jdbc:h2:file:~/apollo/apollo-config-db;mode=mysql;DB_CLOSE_ON_EXIT=FALSE;DB_CLOSE_DELAY=-1;BUILTIN_ALIAS_OVERRIDE=TRUE;DATABASE_TO_UPPER=FALSE"
# portal db
unset SPRING_SQL_PORTAL_INIT_MODE
export SPRING_PORTAL_DATASOURCE_URL="jdbc:h2:file:~/apollo/apollo-portal-db;mode=mysql;DB_CLOSE_ON_EXIT=FALSE;DB_CLOSE_DELAY=-1;BUILTIN_ALIAS_OVERRIDE=TRUE;DATABASE_TO_UPPER=FALSE"
java -jar apollo-all-in-one.jar
2.3 Use mysql database, automatic initialization
Precautions
- The your-mysql-server:3306 in the environment variable in the script needs to be replaced with the actual mysql server address and port, ApolloConfigDB and ApolloPortalDB needs to be replaced with the actual database name
- The "apollo-username" and "apollo-password" in the environment variables in the script need to fill in the actual username and password
2.3.1 First startup
Use the SPRING_SQL_INIT_MODE="always" environment variable for initialization at the first startup
export SPRING_PROFILES_ACTIVE="github,database-discovery,auth"
# config db
export SPRING_SQL_CONFIG_INIT_MODE="always"
export SPRING_CONFIG_DATASOURCE_URL="jdbc:mysql://your-mysql-server:3306/ApolloConfigDB?useUnicode=true&characterEncoding=UTF8"
export SPRING_CONFIG_DATASOURCE_USERNAME="apollo-username"
export SPRING_CONFIG_DATASOURCE_PASSWORD="apollo-password"
# portal db
export SPRING_SQL_PORTAL_INIT_MODE="always"
export SPRING_PORTAL_DATASOURCE_URL="jdbc:mysql://your-mysql-server:3306/ApolloPortalDB?useUnicode=true&characterEncoding=UTF8"
export SPRING_PORTAL_DATASOURCE_USERNAME="apollo-username"
export SPRING_PORTAL_DATASOURCE_PASSWORD="apollo-password"
java -jar apollo-all-in-one.jar
2.3.2 Subsequent startup
Remove the SPRING_SQL_CONFIG_INIT_MODE and SPRING_SQL_PORTAL_INIT_MODE environment variable to avoid repeated initialization at subsequent startup
export SPRING_PROFILES_ACTIVE="github,database-discovery,auth"
# config db
unset SPRING_SQL_CONFIG_INIT_MODE
export SPRING_CONFIG_DATASOURCE_URL="jdbc:mysql://your-mysql-server:3306/ApolloConfigDB?useUnicode=true&characterEncoding=UTF8"
export SPRING_CONFIG_DATASOURCE_USERNAME="apollo-username"
export SPRING_CONFIG_DATASOURCE_PASSWORD="apollo-password"
# portal db
unset SPRING_SQL_PORTAL_INIT_MODE
export SPRING_PORTAL_DATASOURCE_URL="jdbc:mysql://your-mysql-server:3306/ApolloPortalDB?useUnicode=true&characterEncoding=UTF8"
export SPRING_PORTAL_DATASOURCE_USERNAME="apollo-username"
export SPRING_PORTAL_DATASOURCE_PASSWORD="apollo-password"
java -jar apollo-all-in-one.jar
2.4 Use mysql database, manual initialization
2.4.1 Manually initialize ApolloConfigDB and ApolloPortalDB
You can import apolloconfigdb.sql to ApolloConfigDB through various MySQL clients. You can import apolloportaldb.sql to ApolloPortalDB through various MySQL clients.
2.4.2 Run
Precautions
- The your-mysql-server:3306 in the environment variable in the script needs to be replaced with the actual mysql server address and port, ApolloConfigDB and ApolloPortalDB needs to be replaced with the actual database name
The "apollo-username" and "apollo-password" in the environment variables in the script need to fill in the actual username and password
export SPRING_PROFILES_ACTIVE="github,database-discovery,auth"
# config db
unset SPRING_SQL_CONFIG_INIT_MODE
export SPRING_CONFIG_DATASOURCE_URL="jdbc:mysql://your-mysql-server:3306/ApolloConfigDB?useUnicode=true&characterEncoding=UTF8"
export SPRING_CONFIG_DATASOURCE_USERNAME="apollo-username"
export SPRING_CONFIG_DATASOURCE_PASSWORD="apollo-password"
# portal db
unset SPRING_SQL_PORTAL_INIT_MODE
export SPRING_PORTAL_DATASOURCE_URL="jdbc:mysql://your-mysql-server:3306/ApolloPortalDB?useUnicode=true&characterEncoding=UTF8"
export SPRING_PORTAL_DATASOURCE_USERNAME="apollo-username"
export SPRING_PORTAL_DATASOURCE_PASSWORD="apollo-password"
java -jar apollo-all-in-one.jar
III. Note
Quick Start is only used to help you quickly experience Apollo project, please refer to: distributed-deployment-guide for details.
It should be noted that Quick Start does not support adding environments, but only through distributed deployment, please refer to: distributed-deployment-guide
IV. Using Apollo Configuration Center
4.1 Using the sample project
4.1.1 Initialize the sample configuration
Quick Start integrates with Spring Security simple authentication, for more information you can refer to Portal implementing user login function
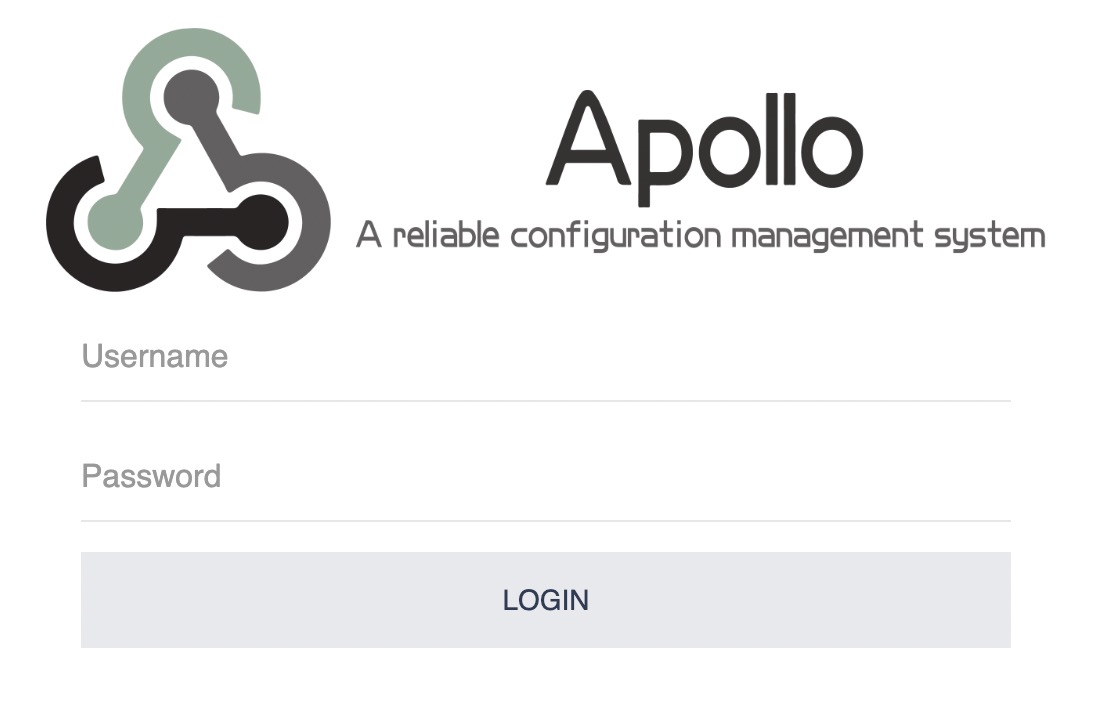
- Enter username apollo and password admin and log in
- Click "Create project", enter the
SampleAppinformation, and submit.
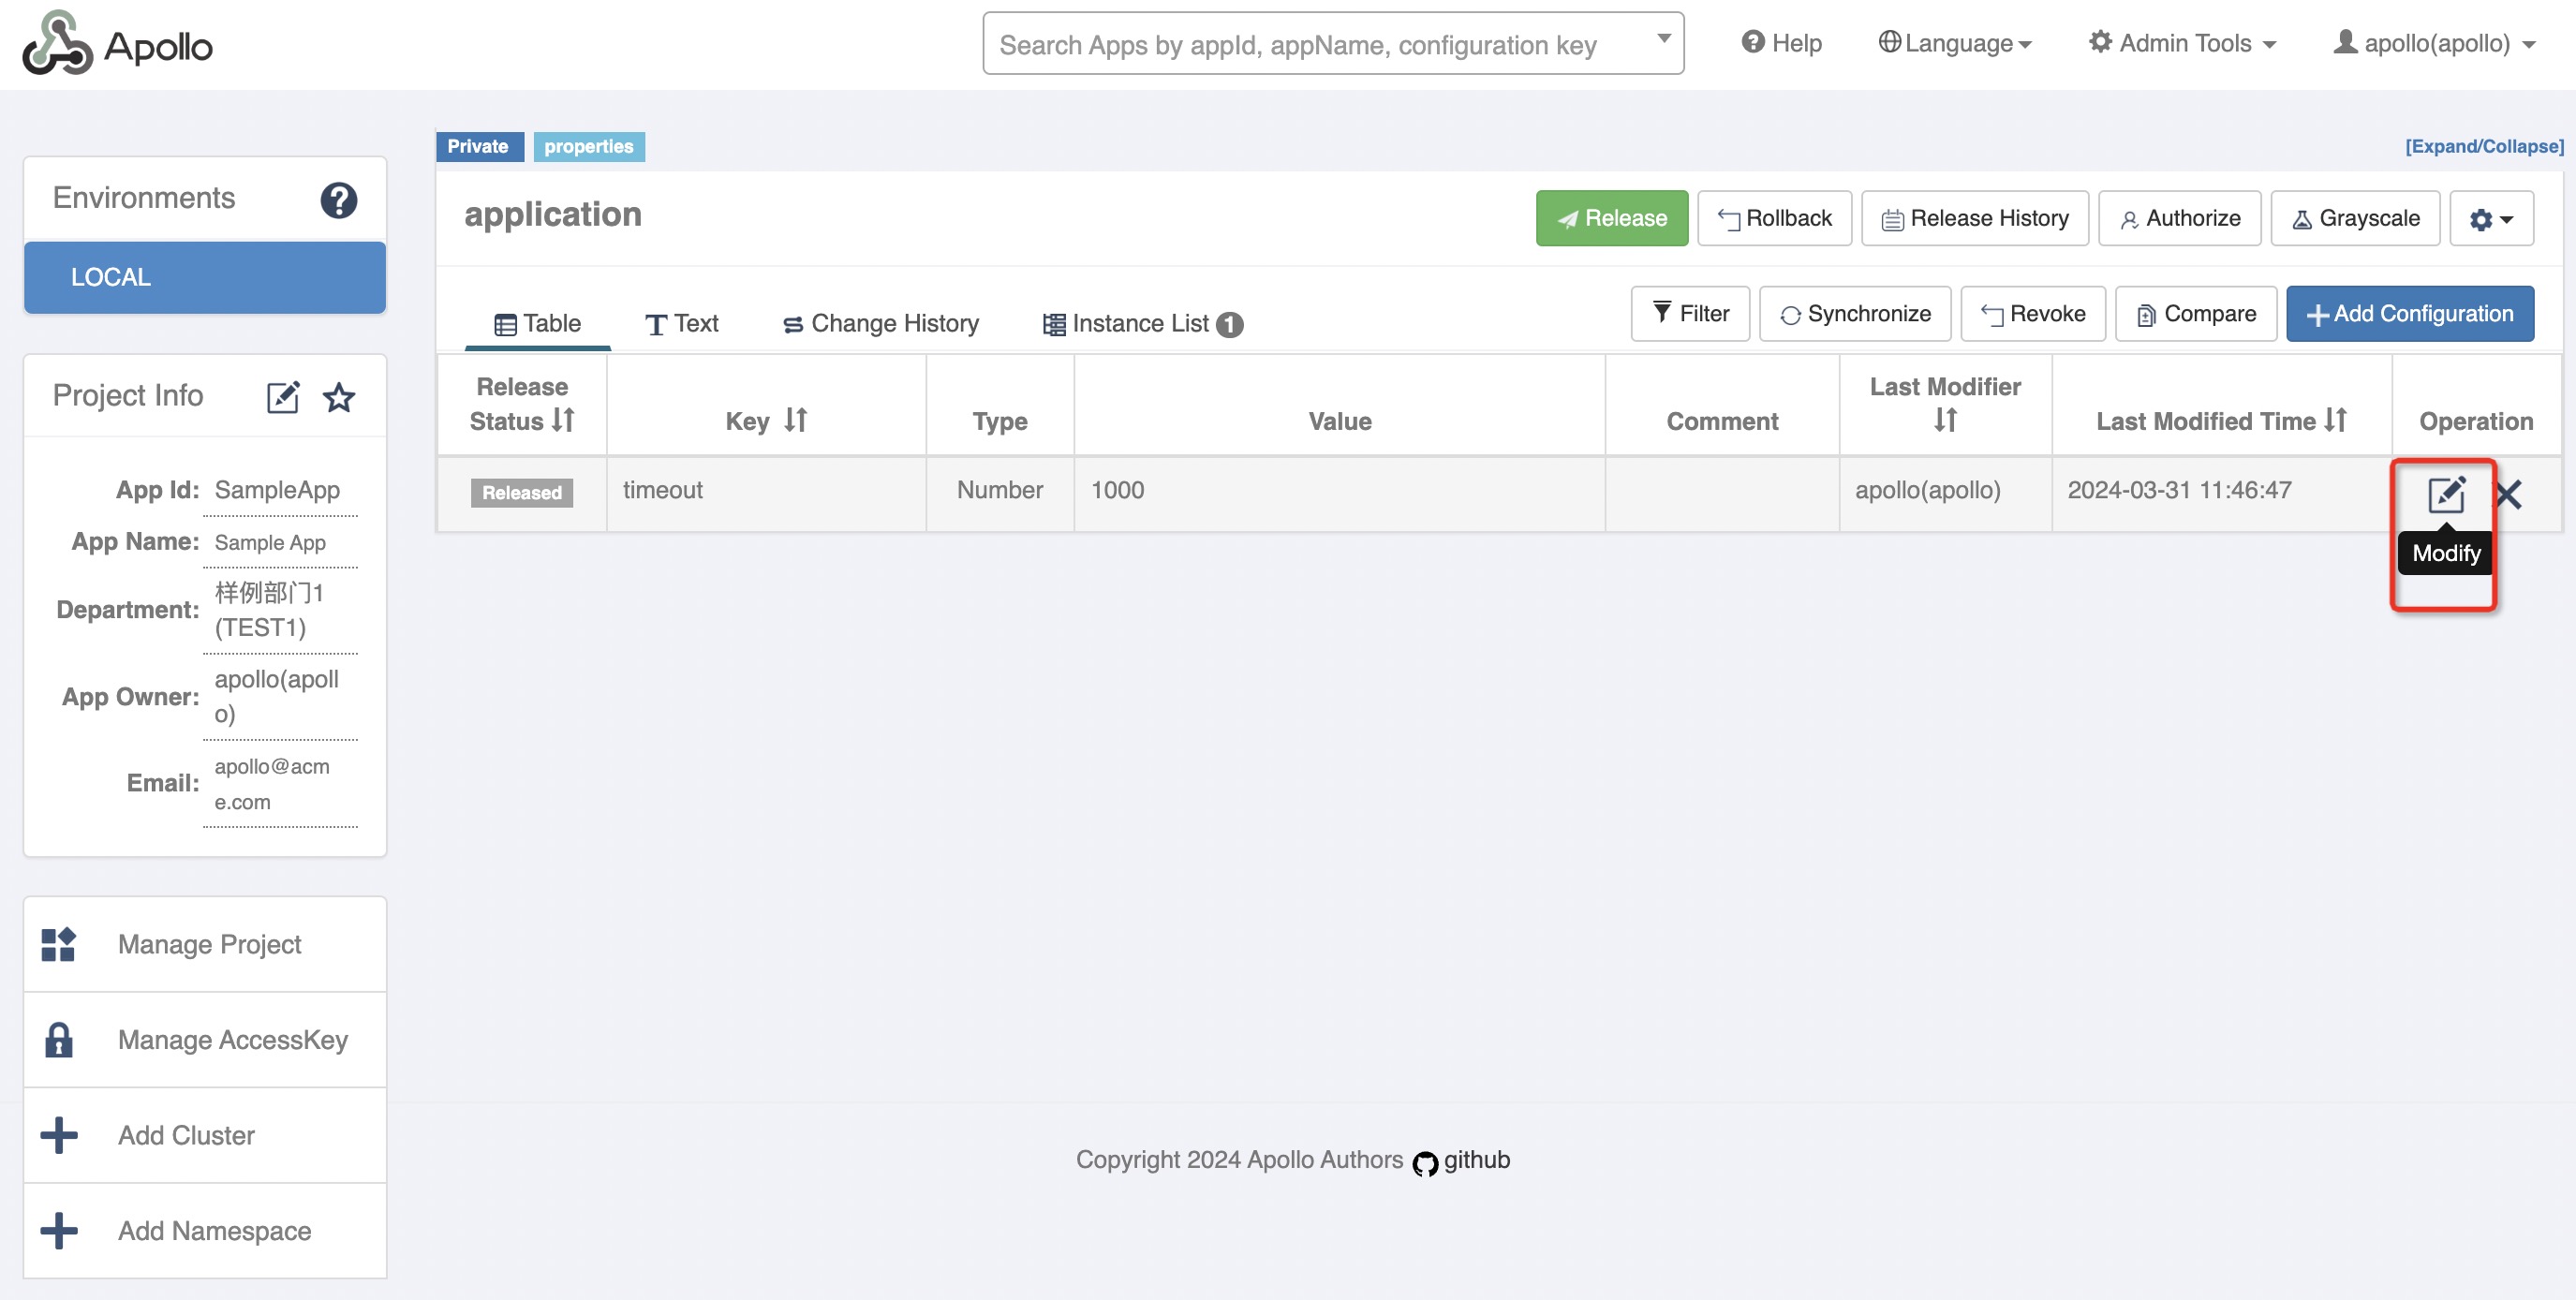
- Go to the SampleApp configuration interface, click on "Add Configuration", enter the
timeoutinformation, and submit.
- Click on the "Release" button, and fill in the release information.
4.1.2 Running the client application
We have prepared a simple Demo client to demonstrate getting configuration from Apollo Configuration Center.
The program is simple: the user enters the name of a key, and the program outputs the value corresponding to that key.
If the key is not found, undefined is output.
Also, the client listens for configuration change events and outputs the changed configuration information once there is a change.
Run ./demo.sh client to start the demo client and ignore the previous debugging information, you can see the following prompt.
Apollo Config Demo. Please input key to get the value. Input quit to exit.
>
Enter timeout and you will see the following message.
> timeout
Loading key : timeout with value: 1000
If you encounter problems running the client, you can view more detailed logging information by changing the level in
client/log4j2.xmlto DEBUG> <logger name="com.ctrip.framework.apollo" additivity="false" level="trace"> > <AppenderRef ref="Async" level="DEBUG"/> > </logger> > ``` ### 4.1.3 Modify the configuration and publish Return to the configuration interface, change the value of `timeout` to 2000, and release the configuration.  ### 4.1.4 Client view the modified value If the client has been running, it will listen for configuration changes after the configuration is published and output the modified configuration information as follows.sh Changes for namespace application Change - key: timeout, oldValue: 1000, newValue: 2000, changeType: MODIFIED
Type ``timeout`` again to see the corresponding value and you will see the following message.sh timeout Loading key : timeout with value: 2000
## 4.2 Using the new project
### 4.2.1 App access to Apollo
This part can be found in [Java Application Access Guide](en/client/java-sdk-user-guide)

### 4.2.2 Run the client application
Since a new project is used, the client needs to modify the appId information.

Edit ``client/META-INF/app.properties`` and change `app.id` to your newly created app id.
properties app.id=your appId
Run
./demo.sh clientto start the demo client. ```


